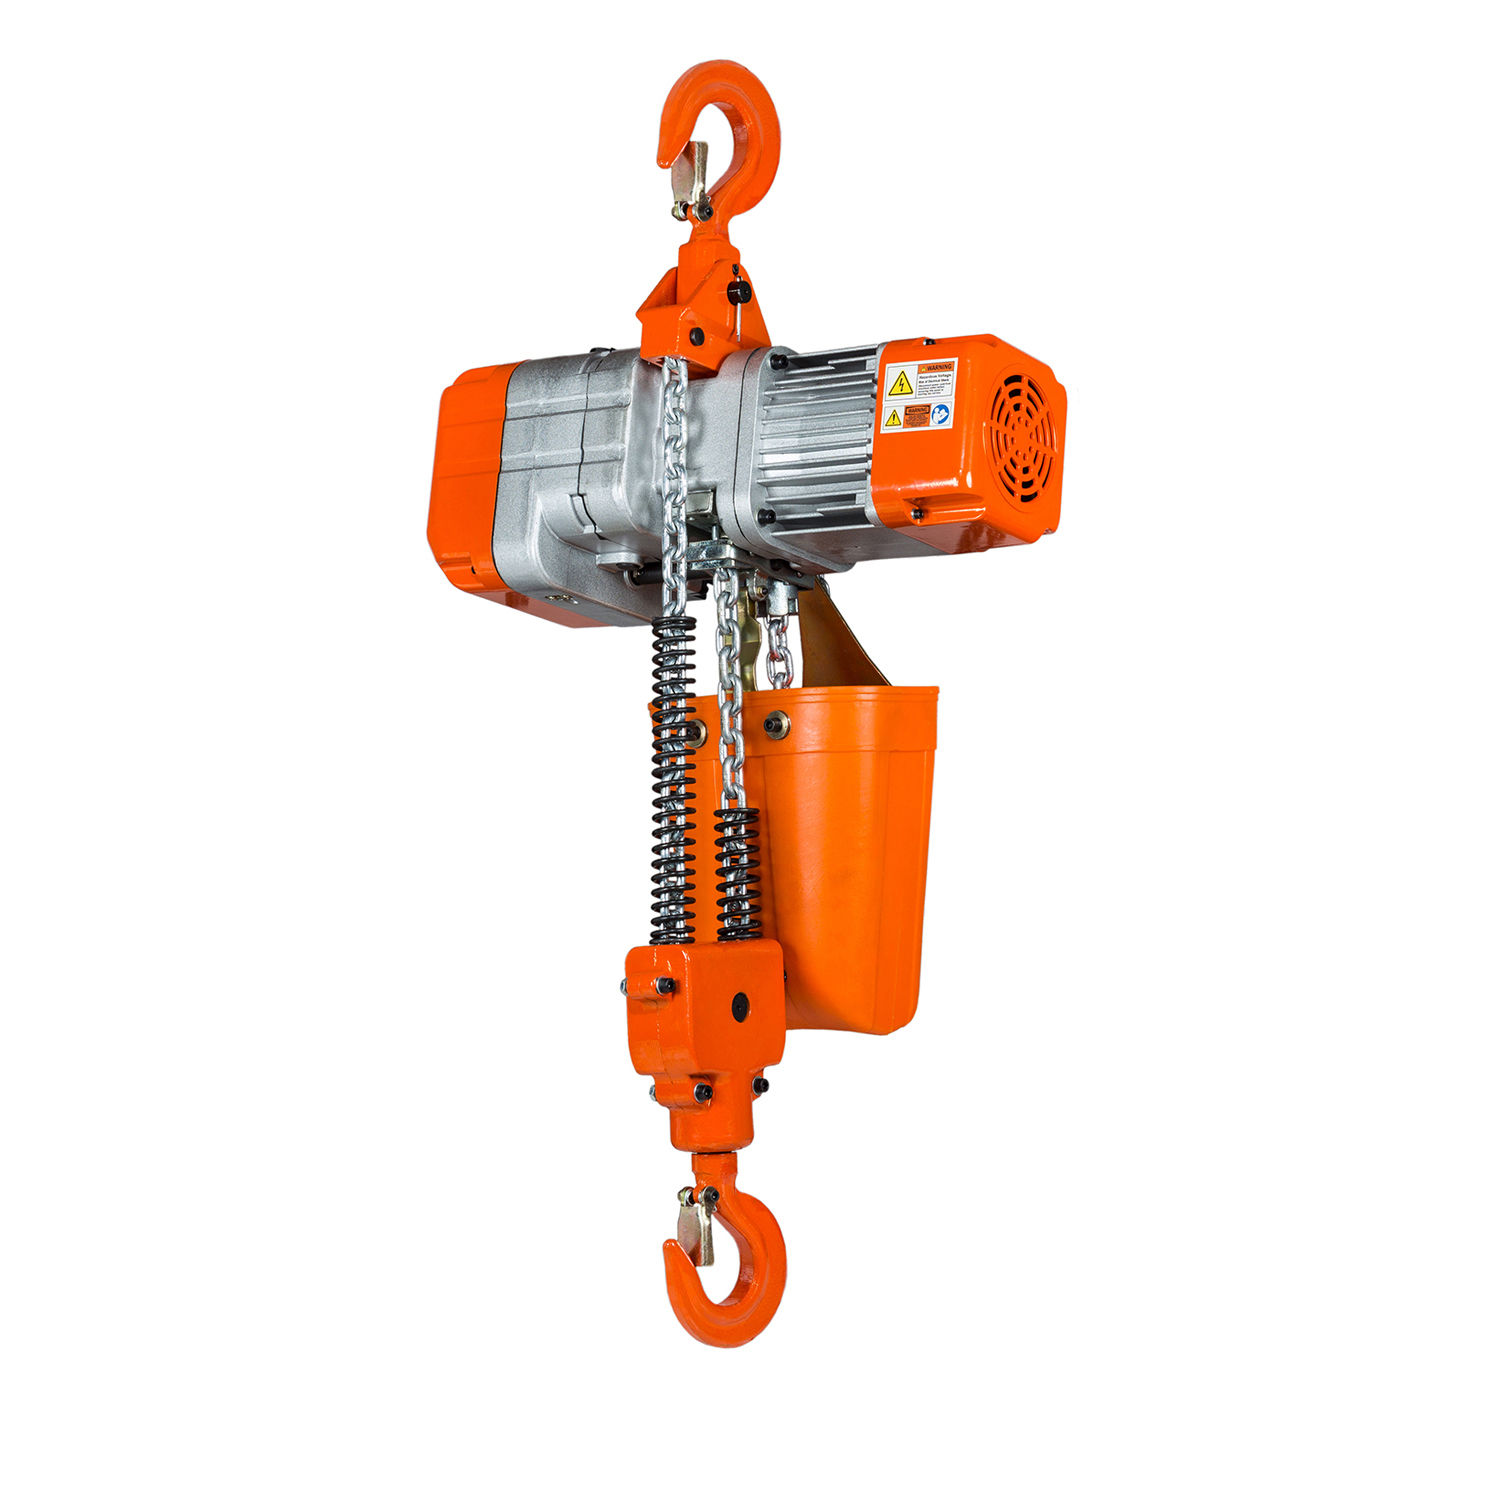
How to install a Chain Hoist?

A chain hoist might become your best tool whenever it’s time to raise heavy loads, it will assist you in lifting heavy objects with a minimum effort and it’s a great tool to install in your garage to help you move an engine block or a generator. It’s necessary to know that the element used to suspend the chain hoist is itself capable of handling the load of the chain hoist alongside the extra weight to be elevated, we suggest to have a minimum of double the capability.
How to install a chain hoist? You need to have a structural point determined. The purpose of the mount point is for suspension of the hoist from its hook or trolley. It’s also used for the distribution of the load between the chain hoist’s suspending strap and its hook. Hiring an expert to make the job in your garage may cost you a significant amount of money whereas installing it by yourself can be fairly simple if you follow our guide.
How to install a fixed Chain Hoist

1. General Precautions
First, read and understand the manual of your fixed chain hoist. Carefully read and follow all the directions, safety instructions, and suggestions relating to chain hoist installation and its usage. It’s necessary that you check and verify the strength of the structure to that you may be attaching the unit. Carefully examine the hooks, chains, pulleys, brakes and limit switch to make sure they are properly working and take away or repair the broken and exhausted components. The chains should be properly oiled. Don’t attempt lifting the load that weighs over the capacity of the chain hoist as falling or dropping of its components will cause injury and property damage. Support the hoist adequately throughout the installation.
2. Installing the bolt shackle
Make sure you are using a rated bolt shackle, remove the bolt and fit it into the mounting point with the shackle. Tighten the nut back in place and make sure you replace the safety pin. Make sure the bolt shackle is resting on the bolt before installing the unit.
3. Suspension of the Chain Hoist
On the chain hoist, first, open the safety latch located on the top hook. Slide the hook onto the shackle in the direction you want the unit to be. Make sure you release the safety latch after the installation. It’s important to confirm that the security latch isn’t open, an open safety latch may result in slipping of the chain hoist from the shackle whereas the load is being raised.
4. Operational Checks
When you finish with the installation, test the chain hoist and ensure that is properly working. Test load the unit by raising and lowering the load a number of times before putting the unit on service, this may help you to detect and correct any defect or malfunction the setup may have.
Installation instructions for a trolley-mounted unit

1. General Precautions
Prior to the installation, check the unit thoroughly, looking for any damage it may have taken during transportation or handling. Each electric chain hoist is load tested at the factory at 125% of the total capacity. All hoists are designed for the type of mounting specified by the purchaser. The adequacy of the mounting point (beams, cranes, hangers, framing, etc.) is the sole responsibility of user/owner and shall be determined or verified by a qualified person. Read the instructions contained in the manual as well as any other related manuals. Observe any warning labels installed in the unit prior installation.
2. Installing the trolley.
When installing the trolley, the number of washers on both sides of the side plates shall be equal. To keep the distance between the edges of the track and the rolling wheel, the quantity of the washers can be adjusted.
- After installing the trolley on the track, tighten the screw on the center shaft and then put on a light load and try moving the trolley. Keep in mind that the screw must lock tightly.
- For all trolley-mounted hoists, refer to the appropriate trolley manual for the trolley installation procedure.
After a trolley-mounted hoist has been assembled to the beam, check for balance.
3. Operational Checks – No Load
Before putting this unit in service check the following parameters:
- Check hoist motor brake functionality. Run the unit on empty load up and down several times to check that load block does not drift more than one inch.
- Test that the end fall makes proper contact with upper/lower travel limit switch and that limit switch functions properly run empty load down.
- To check that load block makes proper contact with upper/lower travel safety limit switch and that limit switch functions properly run empty load up.
- Run empty load up and down several times while checking for proper alignment of load chain.
- Check the trolley sits firmly on the beam and check for any drifting.
- Make sure the traction wheels are on the same side of the hook.


